With Special Access (sometimes called, “overrides”) instructors can set specific settings for quizzes for individual students or groups of students. Overrides allow specific quiz settings for students registered with unique learning needs (such as those registered with the PMC) or in exceptional circumstances.
An instructor might:
- provide a student extra time on a test
- allow an extra attempt on a quiz, or
- provide access to a quiz on a different day
Overrides are often used to provide an additional quiz attempt if a student encountered technical difficulties during their first quiz attempt.
In this article you will find the following:
Managing Special Access for an existing quiz
1. Log in to Brightspace
2. Go to your module. (Click the waffle icon on the navbar and find your module on the list)
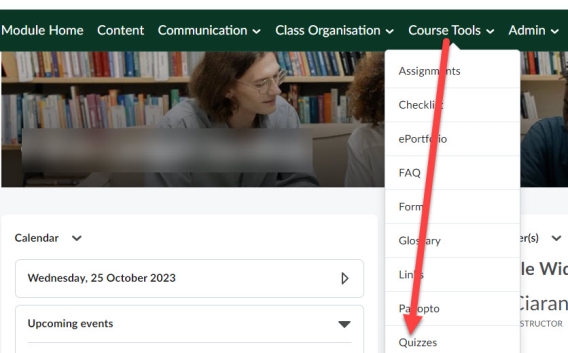
3. In the navbar, click Course Tools > Quizzes.
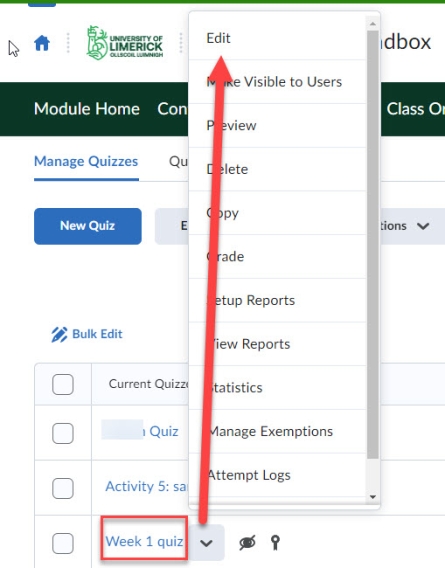
4. From the quizzes listed, click the arrow next to the quiz you want to edit.
5. From the menu that appears, click Edit.

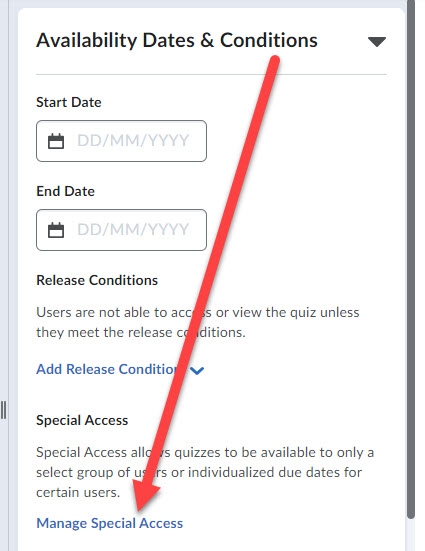
6. On the Edit Quiz page, click Availability Dates & Conditions > Manage Special Access.
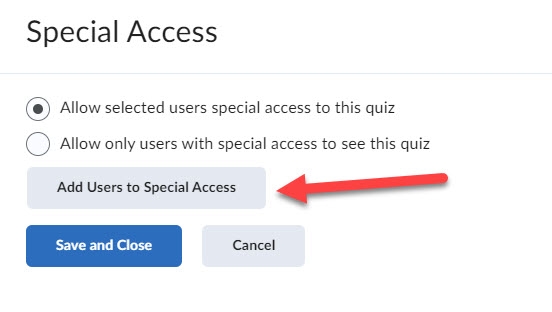
7. In the Special Access pop-up window, select one of the following options:
- Allow selected users special access to this quiz.
- Allow only users with special access to see this quiz.
WARNING: The option ‘Allow selected users special access to this quiz’ will enable you to modify some settings to fit a specific number of users, but the quiz will still be visible to all the students in the class whereas ‘Allow only users with special access to see this quiz’ will make this quiz visible only to a group of students.
8. Click the Add Users to Special Access button.
9. On the Special Access Properties section, add specific dates as needed to match the extension given (due date, start date, end date).
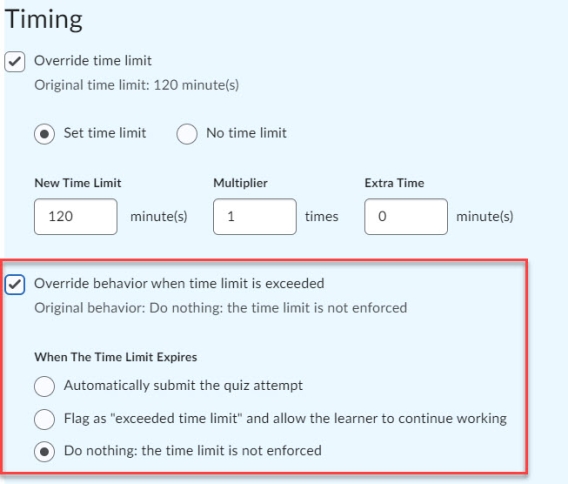
10. To adjust the timing of the quiz, select either of the following:
- Set Time Limit. This allows you to set a new time limit for the learner. To grant extra time enter the number of minutes allow to the learner into the New Time Limit field.
It also gives you three choices when the new time limit expires:
-
- Automatically submit the quiz attempt – which does exactly as it suggests and allows no extra time to the student.
- Flag as “exceed time limit” and allow the learner to continue working – makes a note that the time limit was passed but gives the learner the opportunity to continue to finish the quiz.
- Do nothing: the time limit is not enforced. This allow the learner to continue, and no notification to be made on the breach of the time limit.
- No time limit – This allows unlimited time for the learner to complete the quiz.
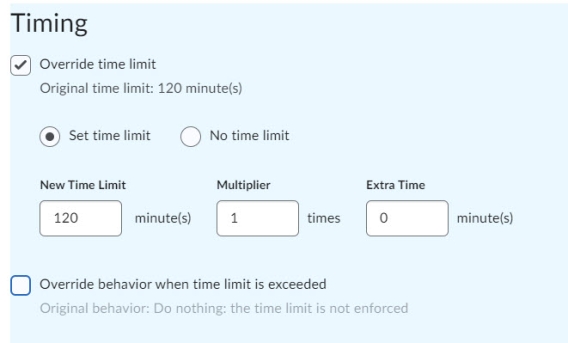
- Override behaviour when time limit is exceeded – Select this option if you want to override the settings for what happens when students exceed the time limit.
- To edit the When the time limit expires settings, select one of the following options:
- Automatically submit the quiz attempt.
- Flag as “exceeded time limit” and allow the learner to continue working.
- Do nothing: the time limit is recommended, not enforced.
- To edit the When the time limit expires settings, select one of the following options:
11. Scroll down to Attempts. If more attempts are to be given, check the Override attempts allowed box.
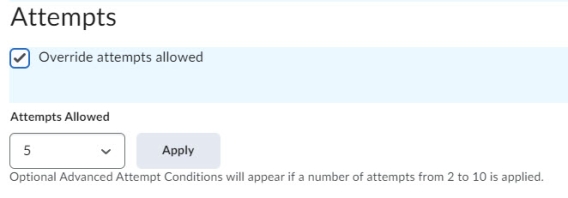
12. Enter the number of attempts allowed and click Apply.
13. If you applied a number of attempts between 2-10, you have the option to restrict access to attempts in the Advanced Attempt Conditions area. Update the Min and Max percentage score that the learner must achieve on a previous attempt to qualify for another attempt if required.
14. Scroll down to Users. Click to select the student who requires the special access. If you do not see the student’s name, use the Search field to type the student’s name, then check the box to select the student.
15. Click the button Add Special Access at the bottom of the page.
16. Scroll down to Special Access, and verify if the new time/date/timing for quiz and added learner(s) information is correct.
17. Click Save and Close.
Result
Special access has been applied to the quiz.
Viewing Students with Special Access Accommodations in Quizzes
1. Log in to Brightspace
2. Go to your module. (Click the waffle icon on the navbar and find your module on the list)
3. In the navbar, click Course Tools > Quizzes.
4. From the quizzes listed, click the arrow next to the quiz you want to edit.
5. From the menu that appears, click Edit.
6. On the Edit Quiz page, click Availability Dates & Conditions > Manage Special Access.

Result
In the Special Access pop-up window, any students who have accommodations applied to their quizzes will be listed.

Setting Course Level Accommodations from the Classlist
If you want to set course level accommodations that will apply to all quizzes in the course, you can do so from the Classlist. For instructions, see Setting an Accommodation for all Quizzes from the Classlist.