This article contains two sections:
A. Steps on how to complete this task
B. A video that demonstrates how to complete this task (3:02)
A. Steps
Creating an Intelligent Agent
Complete the following steps to create an intelligent agent:
1. In the navbar, locate and click Intelligent Agents.
2. Click New Agent.
3. Enter an Agent name.
4. Check the Status checkbox to enable the Agent.

5. In the Scheduling section, click the Frequency drop down menu.
6. Select the frequency your Agent will run. (Hourly, Daily, Weekly etc.)
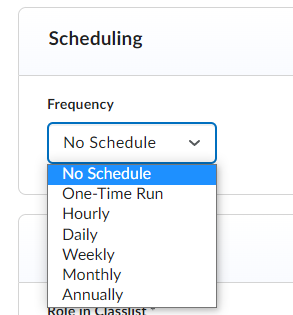
If you select No Schedule or One Time Run, skip to step 13.
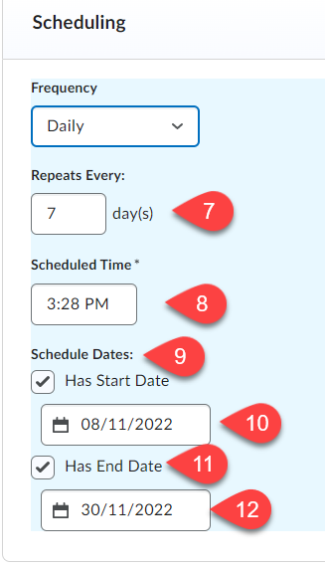
7. Enter the Repeats every field.
8. Select a Scheduled Time.
9. Check the Has a Start Date checkbox.
10. Enter a start date for the agent to run.
11. Check the Has an End Date checkbox.
12. Enter an end date for the agent to finish.
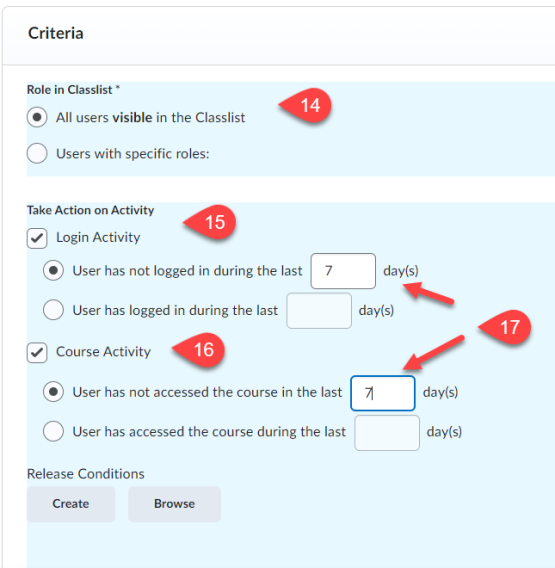
13. Scroll to the Criteria section.
14. Under Role in Classlist, select one of the following:
-
If you want the intelligent agent to be applicable to all roles in the Classlist, select the All users visible in the Classlist check box.
-
If you want the intelligent agent to be applicable to select roles, select the Users with specific roles check box and select the respective roles.
15. Select the activity you want to take action on.
16. Select the course Activity you want to monitor.
17. Enter the number of days the learner needs to not access the course to get an email.
Optional: Add a release condition
17. Scroll to the Actions section.
18. Under Repetition, select how often you want the agent to take action.
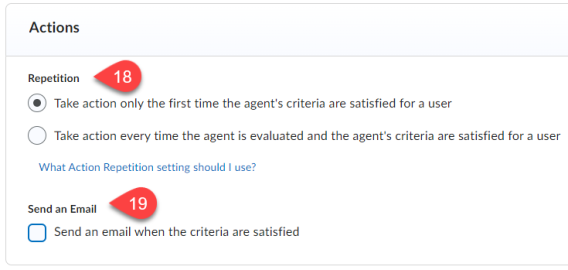
19. Select the Send an email when criteria are satisfied checkbox if you want the agent to send an email when the set criteria are satisfied.
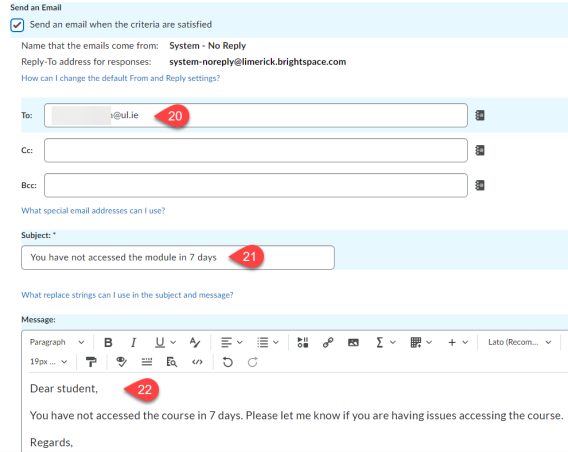
Once this box is checked, an email details section appears.
20. Enter who the agent will contact when a user is identified.
Note: You can use special replace strings to auto-populate content in the To, Cc, Bcc, subject and message fields.
21. Enter a subject for the email.
22. Enter a message in the message field.
23. Click Save and Close.
Result
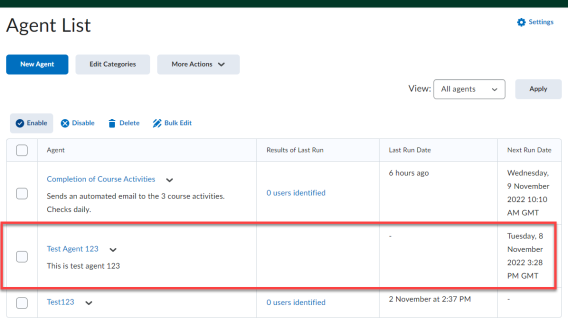
The intelligent agent has now been created and can be reviewed in the Agent List.