Annual Leave
Follow this link to Annual and Historic Leave on Core to find a summary of the modifications to the management of Annual Leave and how to to view your balances on CORE Portal.
Follow this link to Annual and Historic Leave on Core to find a summary of the modifications to the management of Annual Leave and how to to view your balances on CORE Portal.
Your Annual Leave entitlement on Core is adjusted to included the 4 University Closure days in December. For example, if you are entitled to 30 days Annual Leave, it will show up as 26 days in your CORE account.
Navigate to the Employee Dashboard and Select My Time.
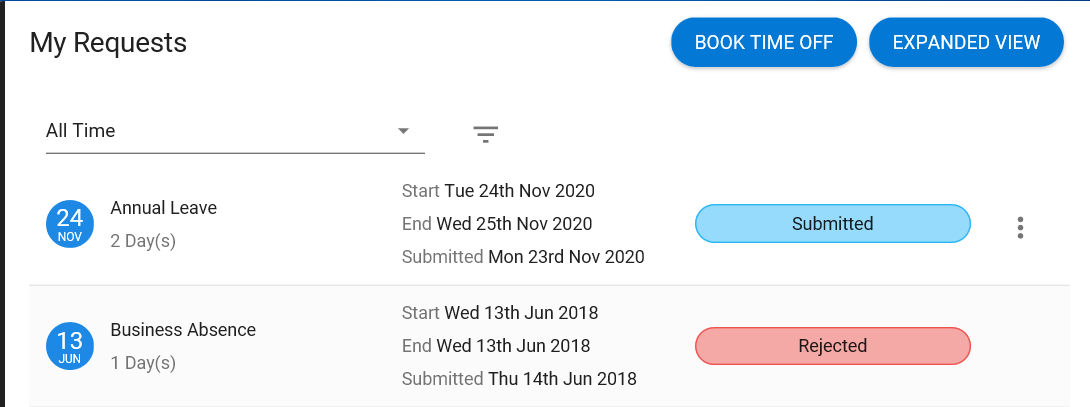
On the My Requests Widget, select Book Time Off.
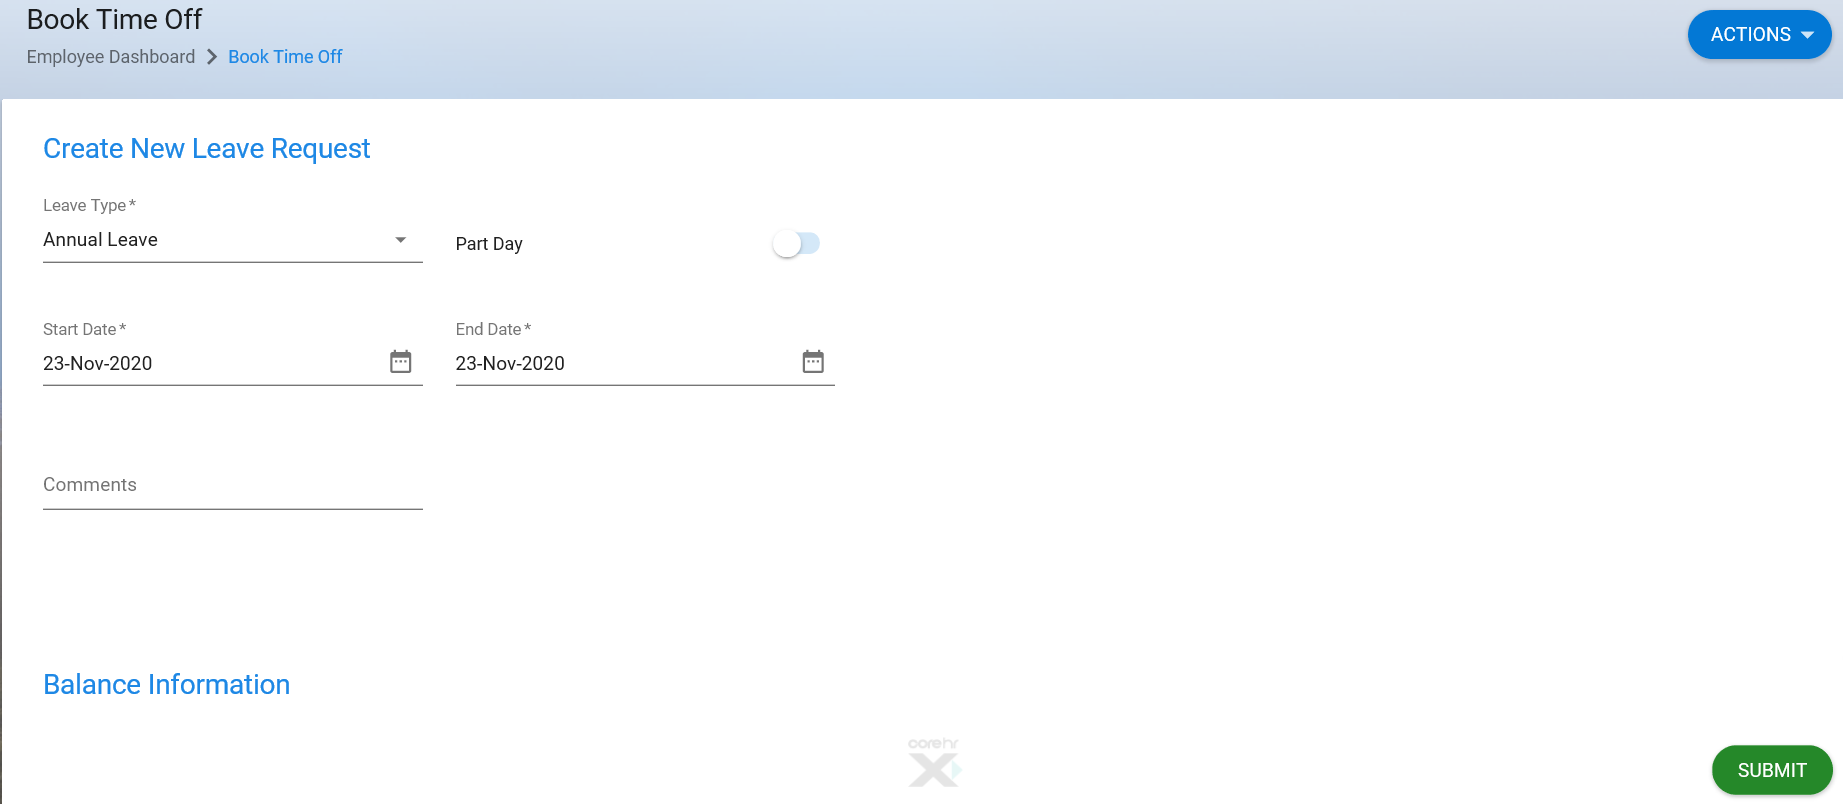
In the Leave Type box, you can select Annual Leave, Flexi Leave or Business Absences. Select Part day if it is a half day.
Fill out the remaining information and click submit.
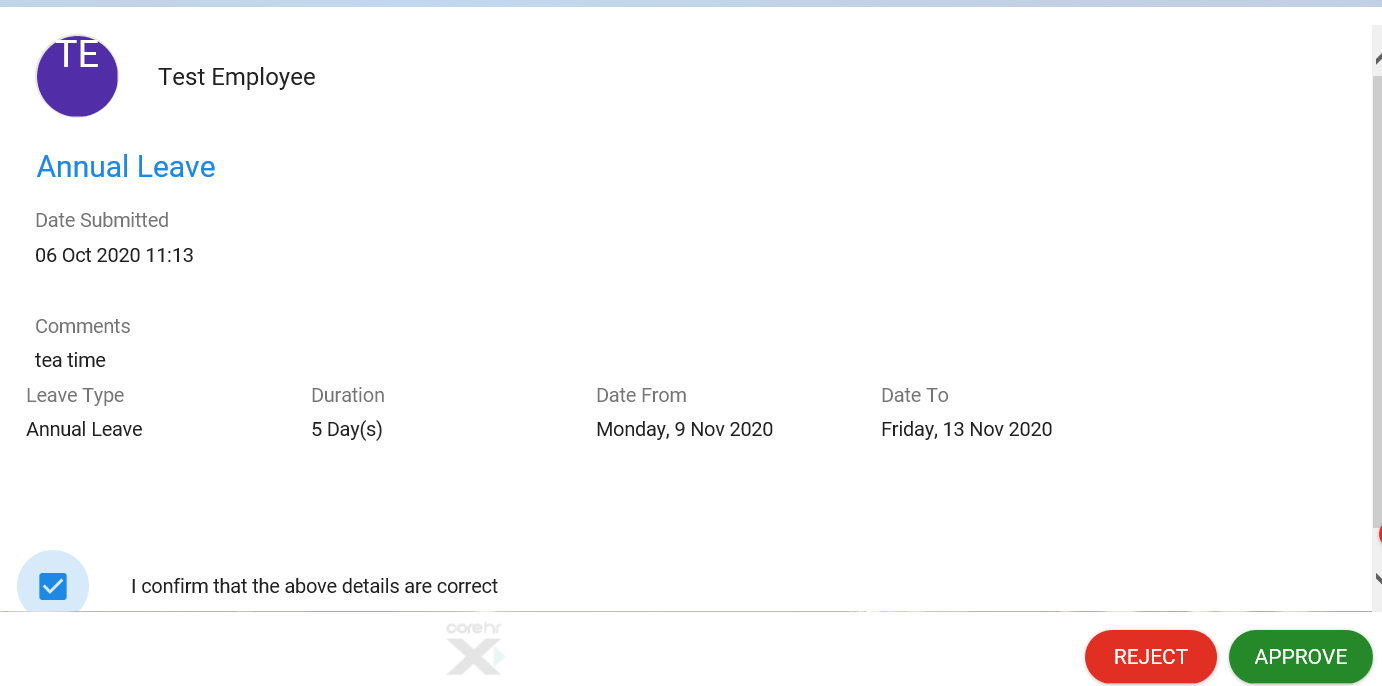
It is possible to view the schedule of all of your direct reports before you approve/reject any leave requests.
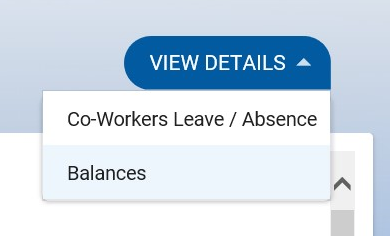
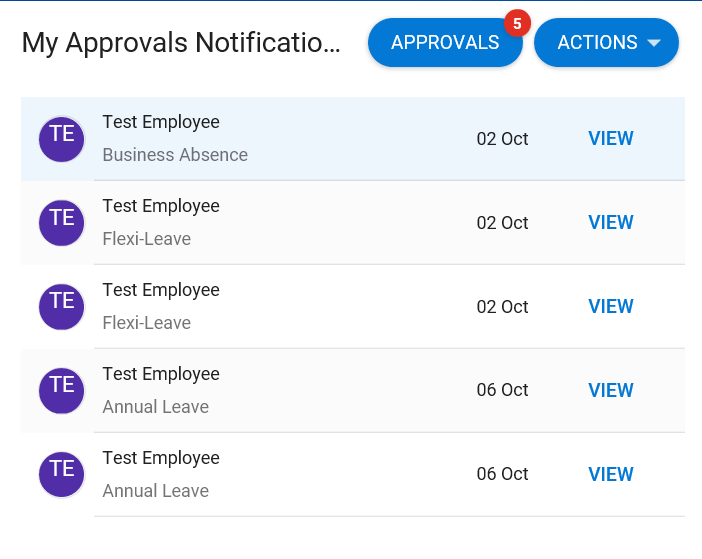
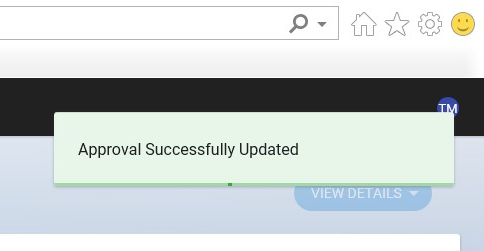
Before you approve/reject a leave request you can select the View Details Button button on the top right hand side of the pop up window.
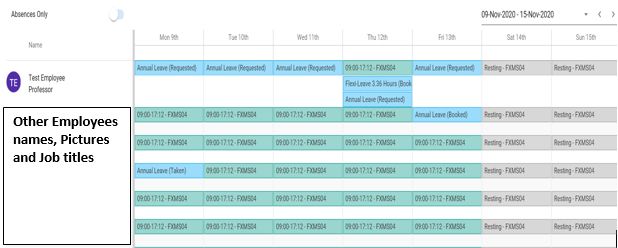
In the View Team Absence pop up window, you can see at a glance who is in the office, when, and which dates leave has been taken or is booked for.
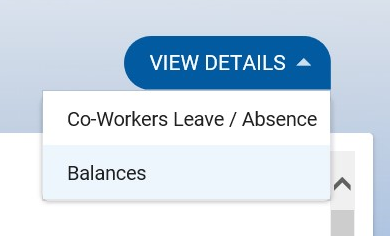
The employee’s balance will then be displayed in a pop up window and you can decide to approve/reject their leave request with knowledge of their remaining balance.

If you feel that your annual leave balance is incorrect, please contact HRAnnualLeave@ul.ie highlighting the error. Please ensure to copy your line manager in this mail.

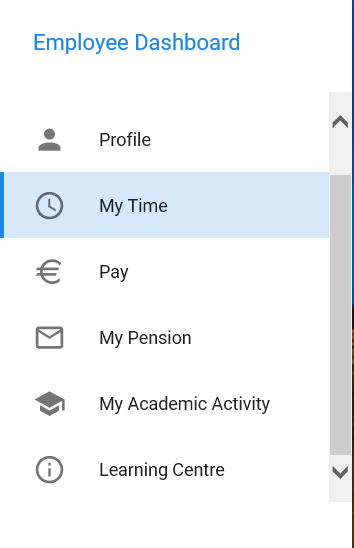


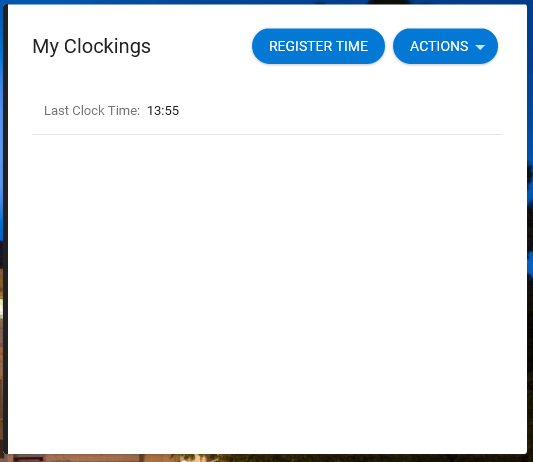
On the My Time tab of the employee dashboard, you can clock in/out by clicking ‘Register Time’ on the My Clockings Widget
- Please remember to confirm your clocking by clicking ‘Register Time’ on the pop up you are presented with.
- You will know your time has registered if the Last Clock Time below Register Time has been updated.
- You can view your clocking history by clicking the Actions drop down button.
In a normal day, you should ‘Register Time’ four times.
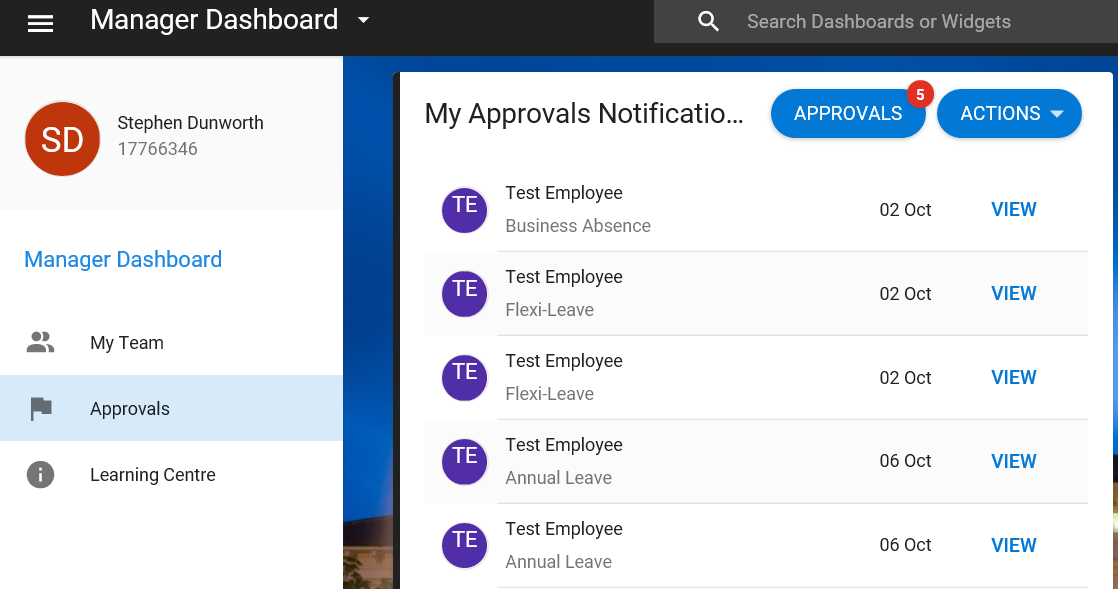
Once you have logged in you will be brought to the Employee Dashboard. If you are a Manager, you will be brought to the Manager Dashboard
On the employee dashboard, please click on ‘My Time’ tab to access your flexitime details in the Balances Widget.
In the event that you forget to clock in or out you can record the missed clocking, which will be sent to your manager for approval. To record a missed clocking you must select the Actions menu in My Clockings on the My Time tab. (You can record a missed clocking up to four weeks in the past).
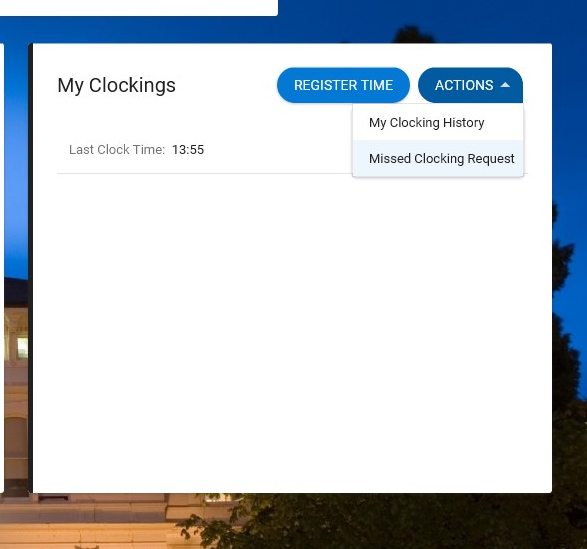
Once you have selected this drop down menu choose the option Missed Clocking Request. Enter the time of the missed clocking and enter an explanation in the narrative field.This missed clocking will be sent to your manager for approval.
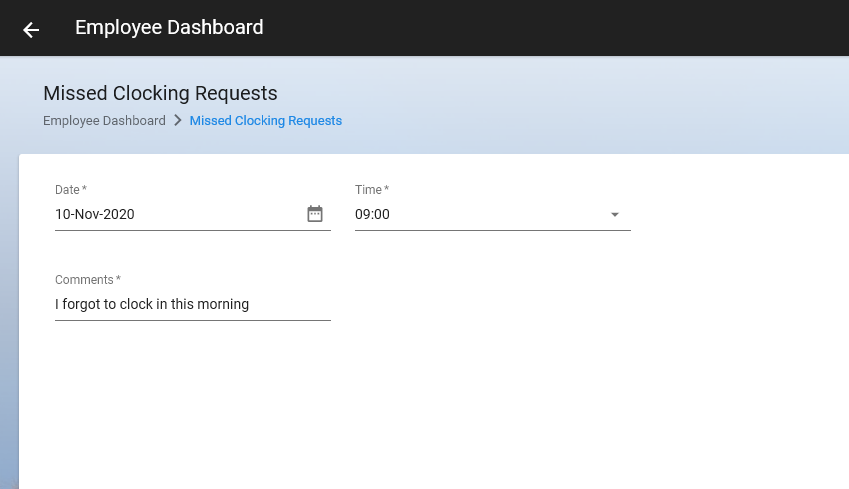
Please note: you should enter the actual time of your missed clocking e.g. 09:00, not the amount of time you have missed e.g 2 hours 30 minutes.
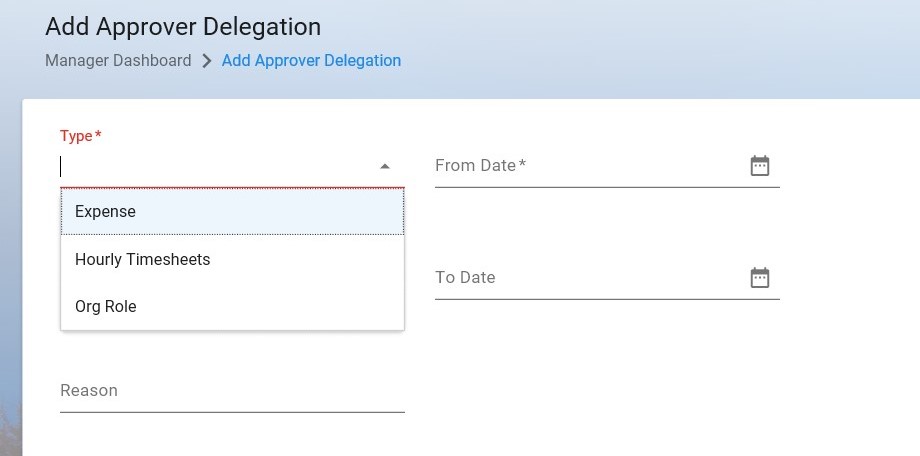
The Delegation facility in Core Portal allows Managers the ability to delegate their team’s leave requests to another Manager in their absence. The delegation functionality allows Managers to delegate the approval or rejection of leave requests currently assigned to them to another Manager for a defined date range.
An example of a typical delegation scenario would be if the Manager of Work Group A was out of office on Annual Leave, and needed to allow his / her team’s leave requests to be processed as normal. Manager A would route the leave requests of his / her team to another manager, e.g. Manager B.
The delegation facility can be found on the Manager Dashboard of Core Portal and this facility allows a Manager to delegate their leave requests to another Manager for a specified period of time.
To have the delegation widget added to your managerial dashboard, please contact hrannualleave@ul.ie
On the main dashboard, you will find your Initials on the top right. Click on your initials and then select My Profile.
Your employee detail information is listed on the left.
For further information on this please contact the Compensation & Benefits Section; compandbens@ul.ie.