When you create Sections in MS Sway, MS Sway automatically creates a table of contents for you. This table is not visible at the start of the Sway, rather it is visible once you click a Table of Contents icon on the Sway.
To create a Table of Contents in MS Sway, complete the following steps:
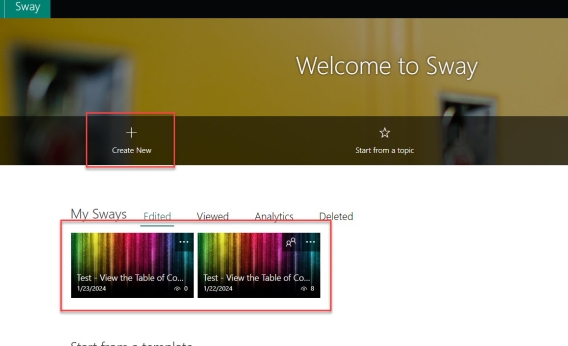
1. Open Sway. Log into your Microsoft account and visit: https://sway.cloud.microsoft/my
2. Click Create New or click on one of the Sways under My Sways to edit an existing Sway.
In this instance, an existing Sway is opened.
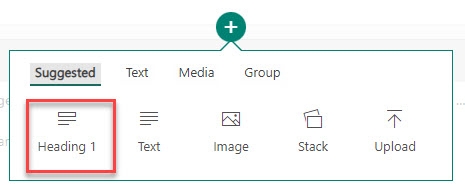
3. Create Sections. To do this click the plus icon at the bottom of the opening section (or below any section you want it to appear, then under Suggested, click Heading 1. Note: You can also create sub sections by clicking Heading 2 under the Text tab.
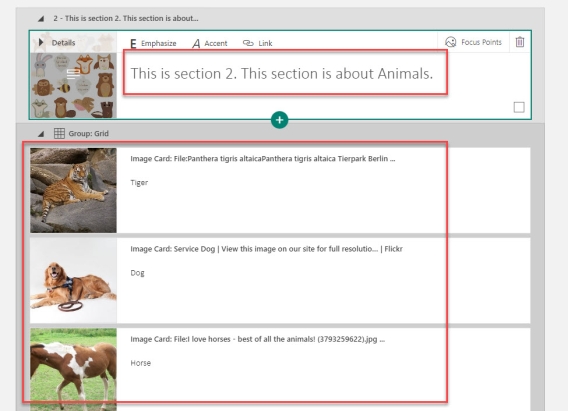
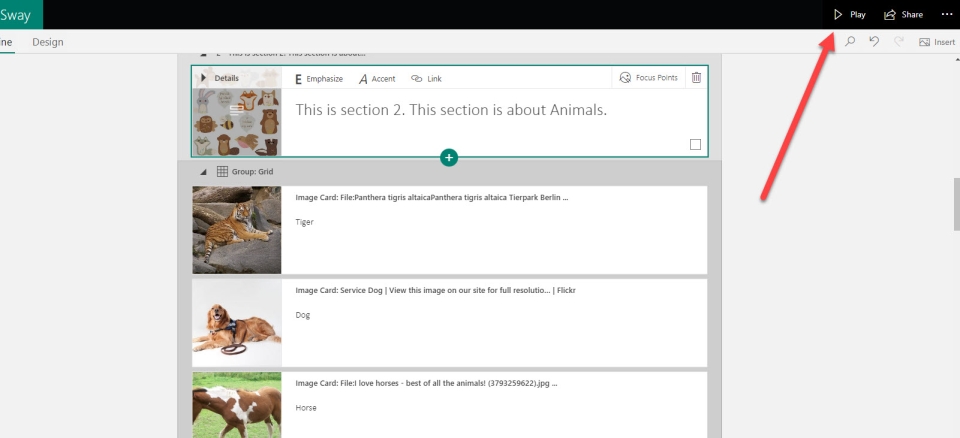
4. Name each of the sections you created. Type the name of the section into the text area. In the image below you can see "This is section 2. This section is about Animals". Below the section header is a grid of images of animals with a description.
5. Once you are happy with your sections, click Play to see what it will look like as a Sway.
The Sway appears.
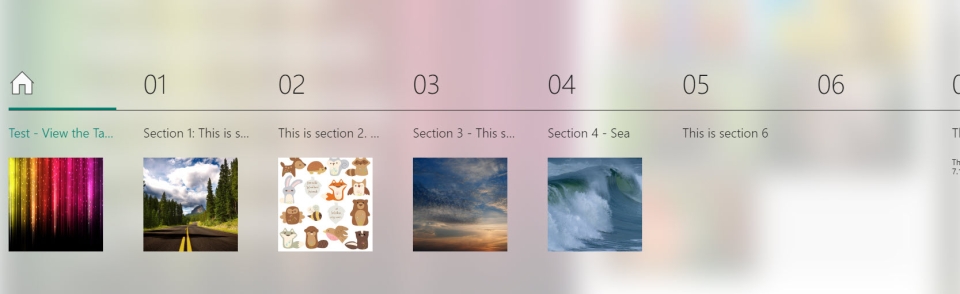
6. Click the Table of Contents icon.
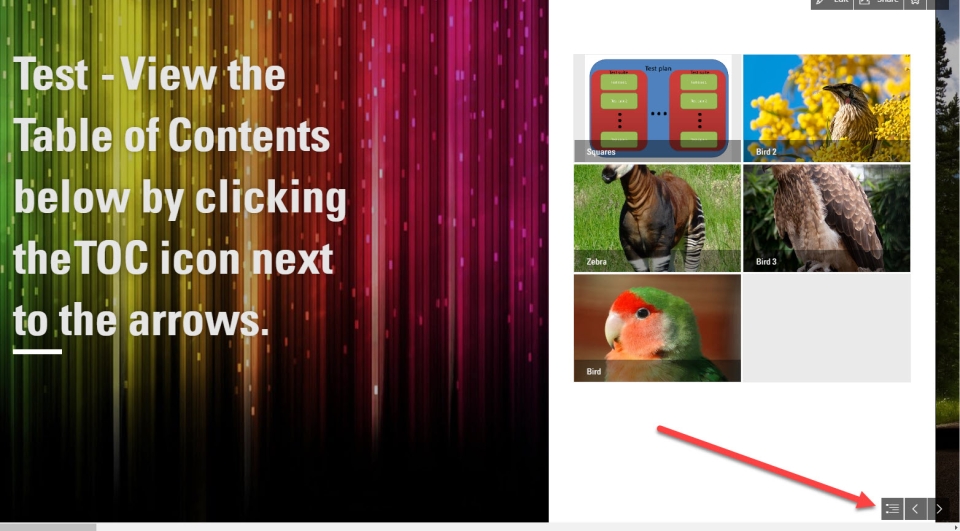
Result
The Table of Contents is now visible and shows all of the sections you created.