To create an assessment with a percentage, there are three different series of steps to be taken:
B. Create the assignment and link it to an existing grade item
C. Enter the grades for completed assignment.
Firstly, lets look at Managing grades.
To create a grade item with a grade scheme, complete the following steps:
1. Select Class Organisation > Grades.
2. Select Manage Grades > New Item.
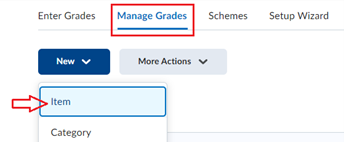
3. Choose a Grade Item Type > Numeric.
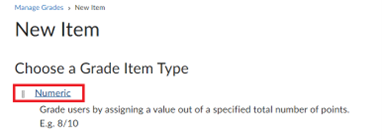
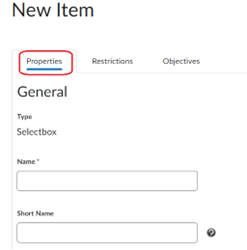
The Properties tab of the Numeric opens.
4. Enter a name. It is best to have the name match up with the associated assignment or syllabus item to avoid confusion.
5. Enter a short name.
Note: The short name is an abbreviation of the full name that you can easily identify and is only visible to you.
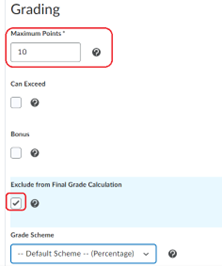
6. Enter the Maximum Points, this is how many points the assignment is worth.
7. Tick the Exclude from Final Grade Calculation if you want the grade item to be excluded from final grade calculation.
8. The Grade Scheme is the default percentage, unless you have created your own grade scheme in Brightspace.
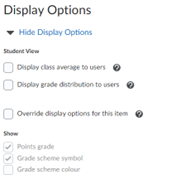
Display Options - There are options for the student, you can Display class average to users, this allows users to see the class average on the item. Display grade distribution to users, this allows users to see a graph showing how grades were distributed between different percentiles.
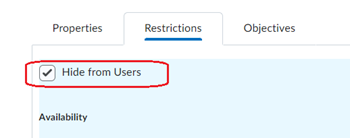
9. Select the Restrictions tab. If there is something in the gradebook that you want hidden from the students, you can choose to select Hide from Users. This will only be visible to you and not your students.
Note: You can also select an Availability date making it available by a particular date.
10. Click Save and Close.
Result
The grades are now managed. Continue to the second series of steps, creating the assignment and linking it to the gradebook.
B. CREATING THE ASSIGNMENT AND LINKING IT TO THE GRADEBOOK
Creating a new assignment
1. Select Course Tools > Assignment.
2. Select New Assignment or edit an existing assignment.
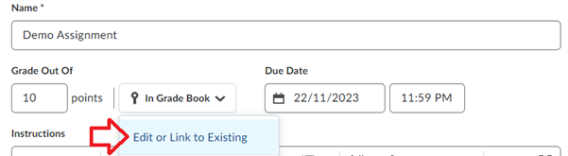
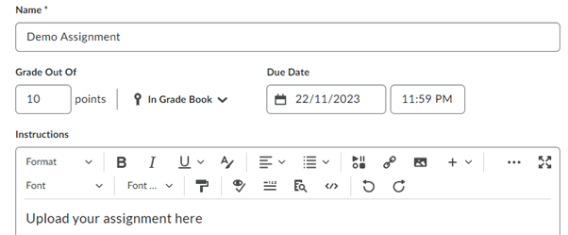
3. Enter a name for the assignment.
4. Grade Out Of – enter the number of points for the assignment.
Note: The default grading option for assignments is ungraded. To change this, click the box under “Grade out of”.
5. Select from the drop down – In Grade Book and Edit or Link to Existing grade item.
6. The Edit or Link to Existing dialog box opens.
7. Select Link to an Existing Grade Item and select the correct grade item from the drop-down.
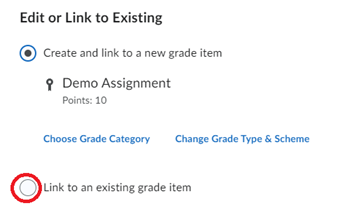
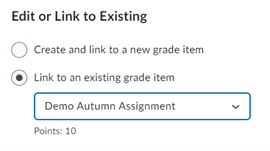
8. Click OK.
9. Click Save and Close on the Edit Assignment screen. The assignment and Grade Item are now linked.
If you can see the In Grade Book dropdown menu, that means that a grade item has been automatically added to your gradebook with the same name as this assignment.
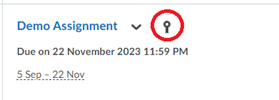
HOW TO KNOW IF AN ASSIGNMNET IS LINKED TO GRADES (FROM ASSIGNMENTS)
Select Course Tools > Assignments and view the list of Assignments, you'll know an assignment is linked to Grades when it shows a ribbon next to the name as highlighted here:
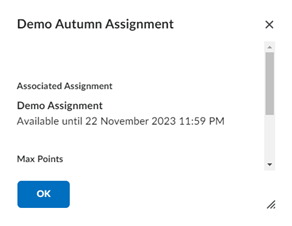
HOW TO KNOW IF A GRADE ITEM IS LINKED TO/ASSOCIATED WITH AN ASSIGNMENT (FROM GRADES)
- Select Class Organisation and Grades
- In the Association column, any grade item linked to an assignment will show the assignment.
Click the question mark (?) to see which assignment the grade item is linked to:
Next, lets enter the grades for completed the assignment.
C. ENTERING THE GRADES FOR COMPLETED ASSIGNMENT
1. To enter a grade individually – select Course Tools > Assignment.
2. From the list of students who have submitted a file, click on one of the submitted files.
3. This takes you to the evaluation page. Here you have many options for assessment and providing feedback – assign a grade/ add test/ upload feedback/add video or audio feedback
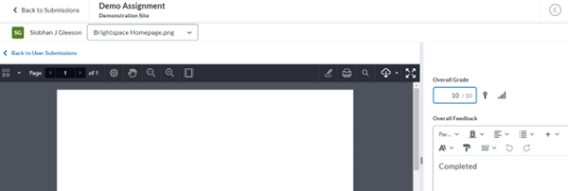
After leaving feedback and assigning a grade, you can publish feedback immediately or save your feedback as a draft and release it at a later time. This enables you to revise and review evaluations and publish your feedback to multiple users at the same time. You also have the option to retract published feedback if you want to provide an update to past evaluations but only want learners to access your most recent feedback.
Alternatively, select Class Organisation > Grades.
Note: Grades can be uploaded in bulk or entered individually
4. Select Class Organisation > Grades.
Note: Grades can be uploaded in bulk or entered individually.
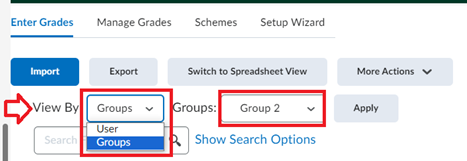
5. Use the View By setting to indicate that you want to show all the users in a class, groups, or sections within the course.
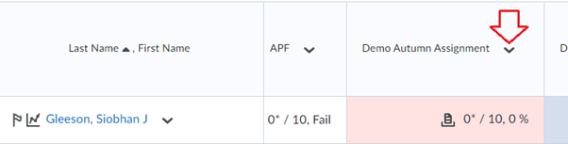
6. Select the arrow next to the assessment. Note: This assignment column is visible only to the lecturer.
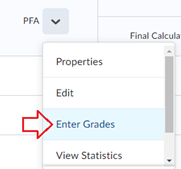
7. Enter the grade for the student by selecting the drop-down from the Demo Autumn Assignment and Enter Grades.
8. Enter the grade for the student into the text box:

Result
The results are then displayed.
Note: The Grades are hidden from the student until made visible.
Additional information available here including video tutorials: Enter grades in the Grades tool.