Creating lockers for private sharing
Note: To create a locker for sharing between a teacher and a student, you must first create Groups, with each group consisting of an individual student. To find out how to create Groups visit the Groups area of the knowledge base.
1. In the navbar of your course site, locate and click Groups.
2. Click New Category.
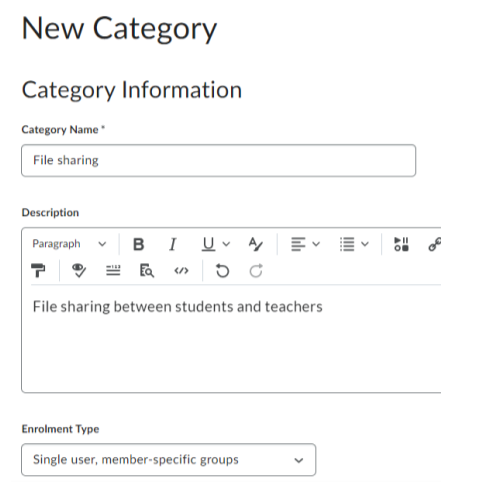
3. Create a Category Name of your choice and add a description (optional step).
4. In the Enrolment Type box, select Single user, member-specific groups. This creates a group including each individual groups and a teacher(s) on a course.
5. In the Additional Options section, click on the Set up Lockers check box.

6. Click Save.
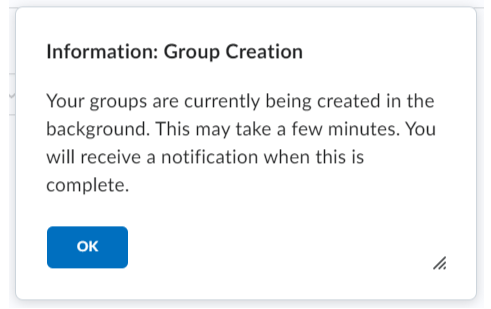
A notification appears informing you the group is being set up.
7. Click OK.
Result
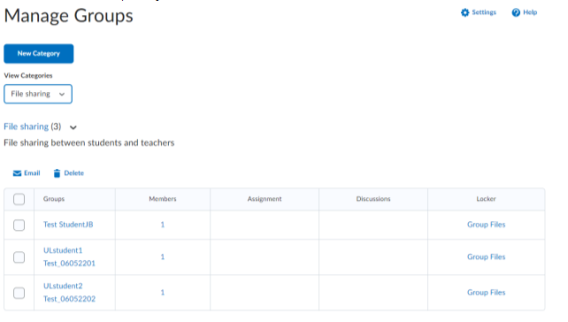
You can now view the Group Lockers by navigating to the Groups tool. Click on the group category you just created in the View Categories drop down and you will see a Group Files option to the right of each students’ name.
Note: Students will not be able to see or access the files of other students but teachers will be able to access the Group Files for each student.