4. Write the new term in the Term field.
Note: The first letter of the term will determine the letter under which the term will be listed in the Glossary, i.e. Virtual Learning Environment will be listed under the letter V.
5. Add the definition of the term in the Definition field.
Optional: You can choose to link this term to a Content topic within your Brightspace site. To do this, choose a topic from your existing content topics in the drop-down box.
6. Click Save to finish, or Save and New to add a new term.
Result
You will now be able to see your newly created Glossary term on the Glossary tool homepage
Uploading a group of Glossary Items using a CSV file
1. On the Navbar locate and click Glossary.
2. The Glossary will open in a new pop-up page.
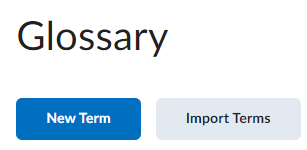
3. To add a term directly to the Glossary, click Import Terms.

4. You can upload a CSV (comma separated values) file. Brightspace provides a sample CSV file you can use. Each field should be separated by a comma, and each row by a line break.
The first cell in the first row must be called "Term" and the second cell in the first row must be called "Definition".
All subsequent rows will contain the actual terms and definitions you wish to import.
5. When your CSV file is ready, click Choose file and locate it on your computer.
6. Click Import Terms.

7. You will be asked to confirm the terms and definitions. Make any relevant changes here then click on Import Selected Terms. The terms will now be populated in the Glossary.
Note: by importing terms using a CSV you will not be able to link the term to a content item, to do this you can edit the item and link it to a content item there.
Result
The group of Glossary items has been uploaded using a CSV file.