How to create a Team in Microsoft Teams
- Open Microsoft Teams
Launch the desktop app or go to teams.microsoft.com.
- Go to the ‘Teams’ section
Click on the Teams icon (on the left sidebar).
- Click ‘Join or create a team’
In the top right of the Teams window select Join or create a team.
- Click ‘Create team’
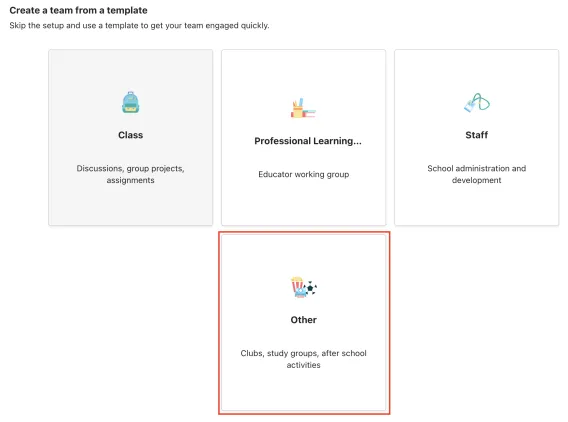
- Select ‘Other’ as the team type
You’ll see options like Class, Staff, Professional Learning Community (PLC), and Other.
Choose Other (for general collaboration purposes).

Video: How to Create a Team in Microsoft Teams
- Click ‘Use this template’
- Set privacy
- Private: Only invited members can join (recommended for most faculty teams).
- Public: Anyone in your organisation can join.
- Set up your team
- Team name: Choose something clear and recognisable (The characters ‘UL:’ will be appended before the name you choose).
- Description (optional): Add context if needed.
- Click Next.
- Add team members
- Search by name or email to add colleagues.
You can also search by module. To do this type ‘Students of Module’ followed by the module code. This will add all students enrolled on the module to the Team.
NOTE: Please be advised that the ‘Students of Module xxxx’ security groups are static rather than dynamic. Membership of these groups does not automatically reflect changes in student registration on your module.
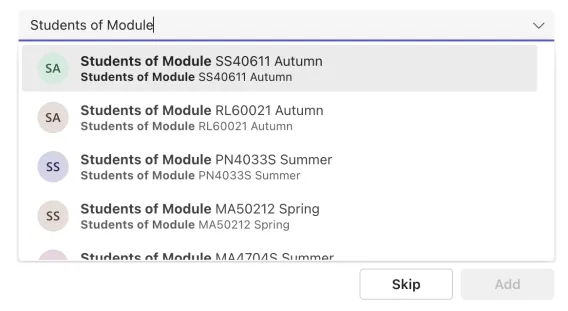
- You can also skip this step and add members later.
- To make sure students can’t edit or delete content in shared folders (like recordings), follow these steps:
Go to your Team and click the Files tab at the top.

Look for the folder named Recordings.
Note: This folder only appears after you’ve recorded your first meeting in the team.
Click the three dots beside the folder and select Manage access.

In the panel that appears:
Click Groups.
Find the Members group.

Under Direct access, change the permission from Can edit to Can view.

Click Apply to save the change.
Your team is ready!


